


How to Improve Latte Art at Home - The Ultimate Guide for Beginners
There is a specific kind of magic that happens when you pour a silky stream of microfoam into a rich, dark espresso and watch a pattern emerge. For many, that first successful heart or rosetta is the moment they truly fall in love with home brewing. However, if you have ever tried to replicate your local barista’s handiwork only to end up with a white blob or a bubbly mess, you are certainly not alone.
At Barista and Co, we believe that great coffee should be accessible to everyone. While we have spent years designing all manner of coffee hardware, our true passion lies in the craft of the pour. As we focus our expertise exclusively on our professional-grade milk pitchers, we want to help you master the tool that makes the art possible.
If you are ready to turn your morning latte into a masterpiece, follow these essential beginner tips to improve your latte art at home.
It All Starts with the Milk
You could have the steadiest hand in the world, but if your milk texture is wrong, the art will never happen. In the coffee world, we strive for microfoam. This is milk that has been aerated just enough to create tiny, invisible bubbles, resulting in a liquid that looks like wet paint or melted ice cream.
To achieve this at home, you need to focus on two stages: stretching and texturing. When you first start steaming, keep the tip of the steam wand near the surface to incorporate air (the stretching phase). You should hear a gentle chirping sound. Once the milk has expanded by about twenty to thirty percent, lower the wand deeper into the pitcher to create a whirlpool (the texturing phase). This vortex breaks down larger bubbles and integrates the foam into the liquid.
The Importance of the Right Tool
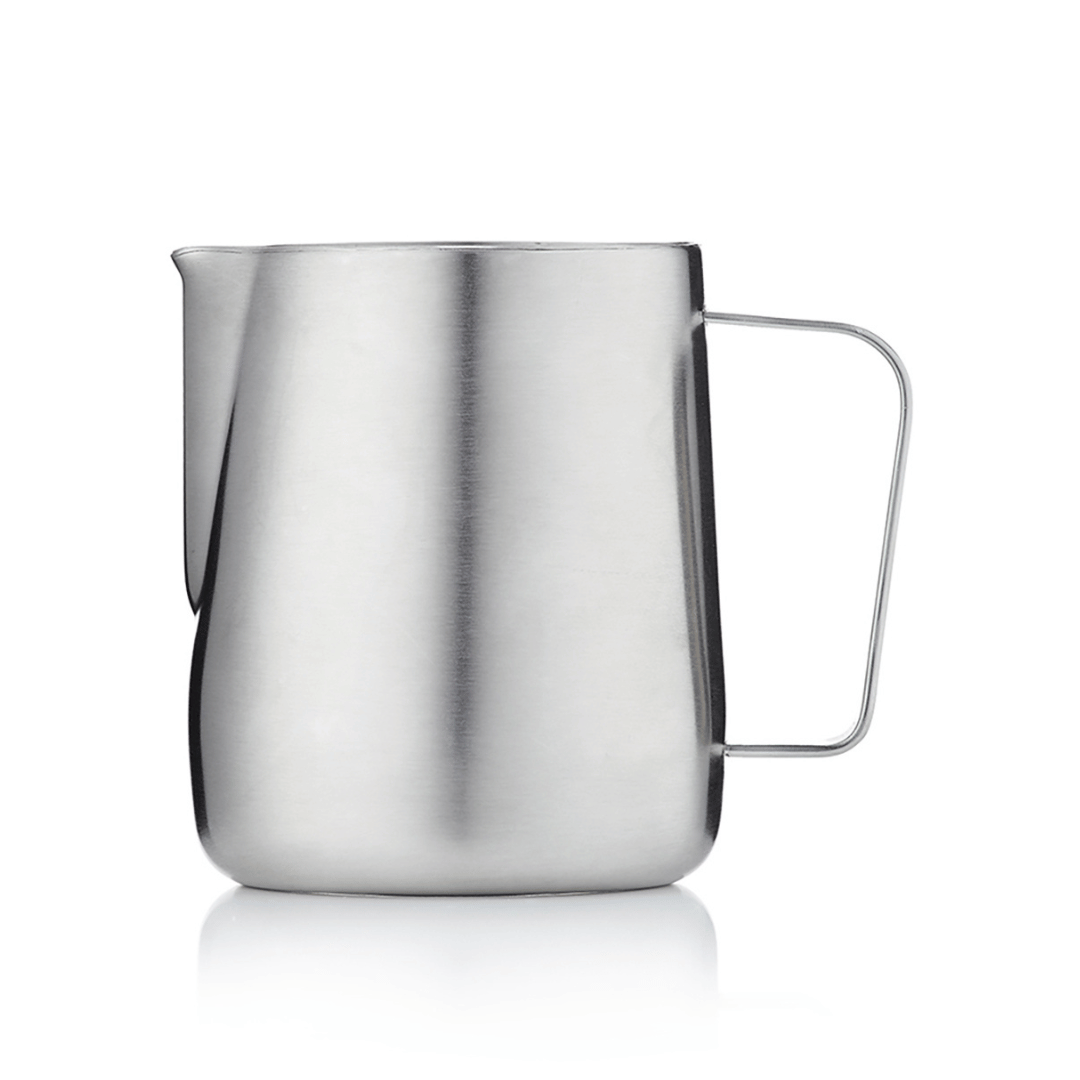
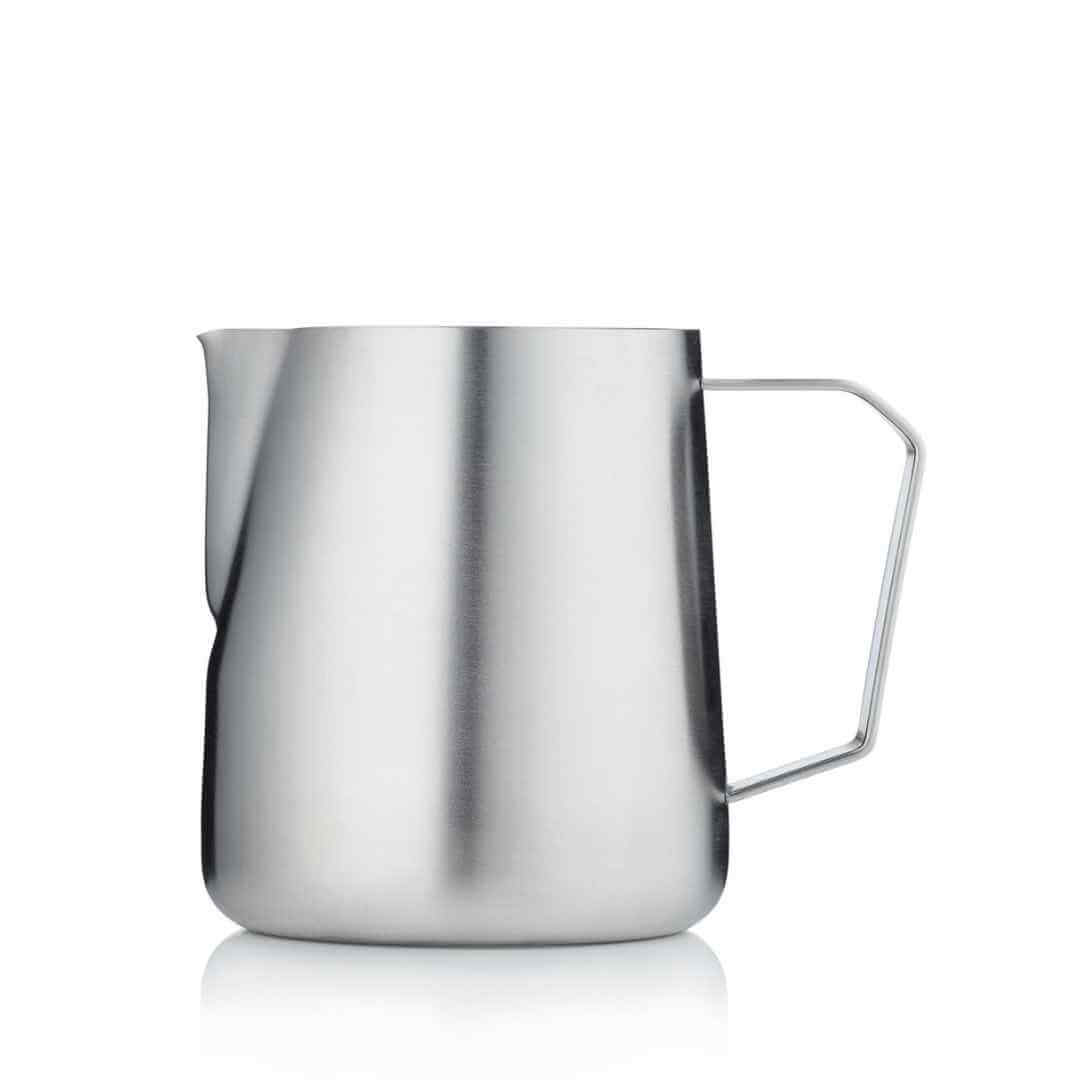
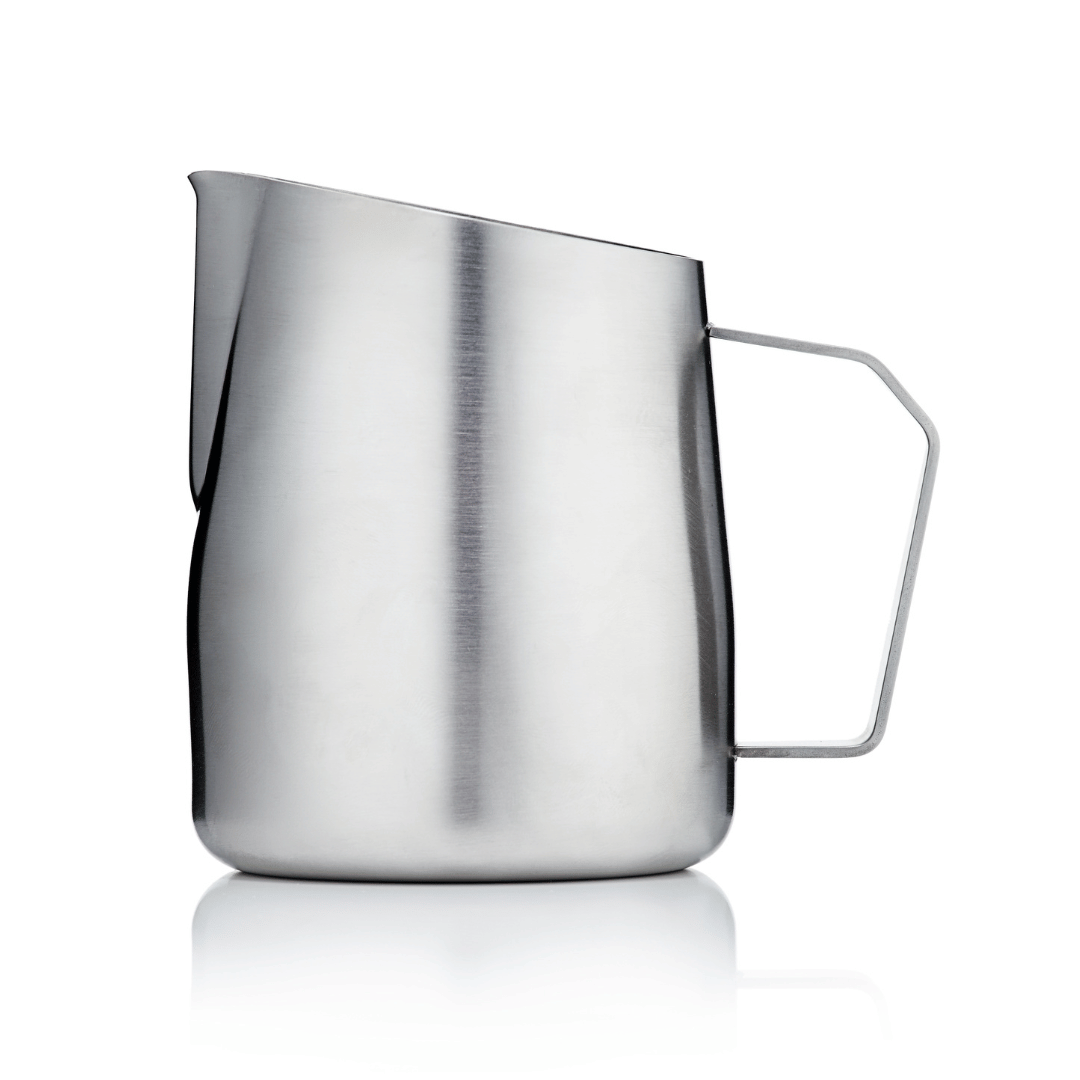
Many beginners overlook the importance of the milk pitcher itself. A standard kitchen jug simply won't cut it. To get that precise control required for a rosetta or a heart, you need a dedicated stainless steel milk pitcher with a focused spout.
A well-designed pitcher allows for a consistent flow of milk and gives you the ability to get the spout close to the surface of the coffee. At Barista and Co, we have poured our years of experience into creating pitchers that balance weight and ergonomics, ensuring that the tool feels like an extension of your hand rather than an obstacle.
Perfecting the Foundation: The Crema
Latte art is a game of contrast. To make your white foam pop, you need a solid foundation of espresso with a healthy layer of crema. If your espresso is watery or the crema has dissipated, the milk will simply sink or blend into a muddy brown colour.
Make sure you are using fresh beans and that your extraction is dialled in. If you find your milk is sinking, try swirling the espresso in the cup before you begin your pour. This breaks the surface tension and creates a smooth, consistent canvas for your art.
The Three Pillars of the Pour: Height, Speed, and Position
Once your milk is textured and your espresso is ready, it is time for the pour. Most beginners make the mistake of rushing this part, but latte art is about deliberate movement. Think of the pour in two distinct phases.
1. The High Pour (The Base)
Start with your pitcher about three or four inches above the cup. Pour a thin, steady stream into the centre of the espresso. The goal here is to pierce the crema and fill the cup without leaving any white marks on the surface. This sets the stage and creates the depth needed for the art to sit on top.
2. The Low Pour (The Art)
When the cup is about half full, bring the spout of the pitcher as close to the surface of the coffee as possible. This change in height is the secret. When you are close to the surface, the foam will begin to glide across the top of the crema instead of sinking under it.
3. The Speed
Consistency is key. If you pour too slowly, only the liquid milk will come out, leaving the foam trapped in the pitcher. If you pour too fast, you will lose control and create a splashy mess. Aim for a steady, confident flow.
Master the Heart First
Before you try to tackle complex tulips or intricate swans, you must master the heart. The heart teaches you the fundamental mechanics of the pour-through.
To create a heart, bring the pitcher close to the surface in the centre of the cup. Keep the pitcher stationary and watch as a white circle forms and expands. Once the cup is nearly full, lift the pitcher slightly and draw the stream of milk through the centre of the circle to create the point of the heart. This simple flick of the wrist is a skill you will use in every single piece of latte art you ever create.
Troubleshooting Common Issues
Even with the best equipment, you will run into hurdles. Here are a few common issues home baristas face:
Large bubbles on the surface: This usually means you stretched the milk for too long or didn't create a strong enough whirlpool. Give the pitcher a firm tap on the counter and swirl it vigorously to integrate the bubbles before pouring.
The milk is too thick: If your milk looks like shaving cream, it won't flow. You likely incorporated too much air. Try reducing the stretching phase next time.
The pattern is lopsided: This is often down to the way you are holding the cup. Ensure your cup is tilted towards the pitcher at the start of the pour, and slowly level it out as the cup fills.
Practice Makes Perfect
Latte art is a physical skill, much like playing an instrument or drawing. You cannot expect to get it right every time during your first week. The best way to improve is through repetition.
If you don't want to waste milk, a great tip is to practice with water and a drop of dish soap in your pitcher. This mimics the texture of milk and allows you to practice your whirlpool technique and pouring motion without going through litres of dairy.
Conclusion
Improving your latte art at home is a journey of patience and precision. By focusing on your milk texture, choosing the right professional pitcher, and mastering the height and speed of your pour, you will see your skills transform.
Remember, even if the pattern doesn't look perfect, it will still be the freshest, most delicious cup of coffee because you made it yourself. Grab your pitcher, steam some milk, and start pouring. We can't wait to see what you create.


Leave a comment