


How to Steam Milk for Latte Art at Home: A Beginner's Complete Guide
You have invested in a quality milk pitcher and a decent espresso machine, yet your milk still ends up flat, bubbly, or scalded. If your pours look more like a flat ocean than a textured cloud, you are not alone. The truth is, latte art is 90% about the milk and only 10% about the pour.
At Barista & Co, we have spent over a decade engineering professional beverage hardware for coffee creators. Through working with hundreds of baristas, we have learned that mastering milk steaming is the single biggest unlock for home baristas wanting cafe-quality drinks. This guide walks you through the exact technique, common mistakes, and the science behind silky microfoam.
What Is Microfoam, and Why Does It Matter?
Microfoam is the foundation of all latte art. It is steamed milk with bubbles so small that they are invisible to the naked eye, creating a glossy, paint-like texture that flows smoothly from your pitcher into your espresso.
When milk is steamed correctly, two things happen simultaneously. First, air is incorporated into the milk through a process called "stretching," which adds volume. Second, the milk is "textured," meaning the bubbles are broken down and integrated into a uniform, velvety liquid. Without proper microfoam, your latte will either taste thin and watery, or it will have a stiff meringue-like foam that cannot be poured into shapes.
Good microfoam should look like wet paint, hold a glossy sheen, and have no visible bubbles on the surface when you tap the pitcher.
The Right Equipment for the Job
Before you start steaming, your setup matters. You need three things:
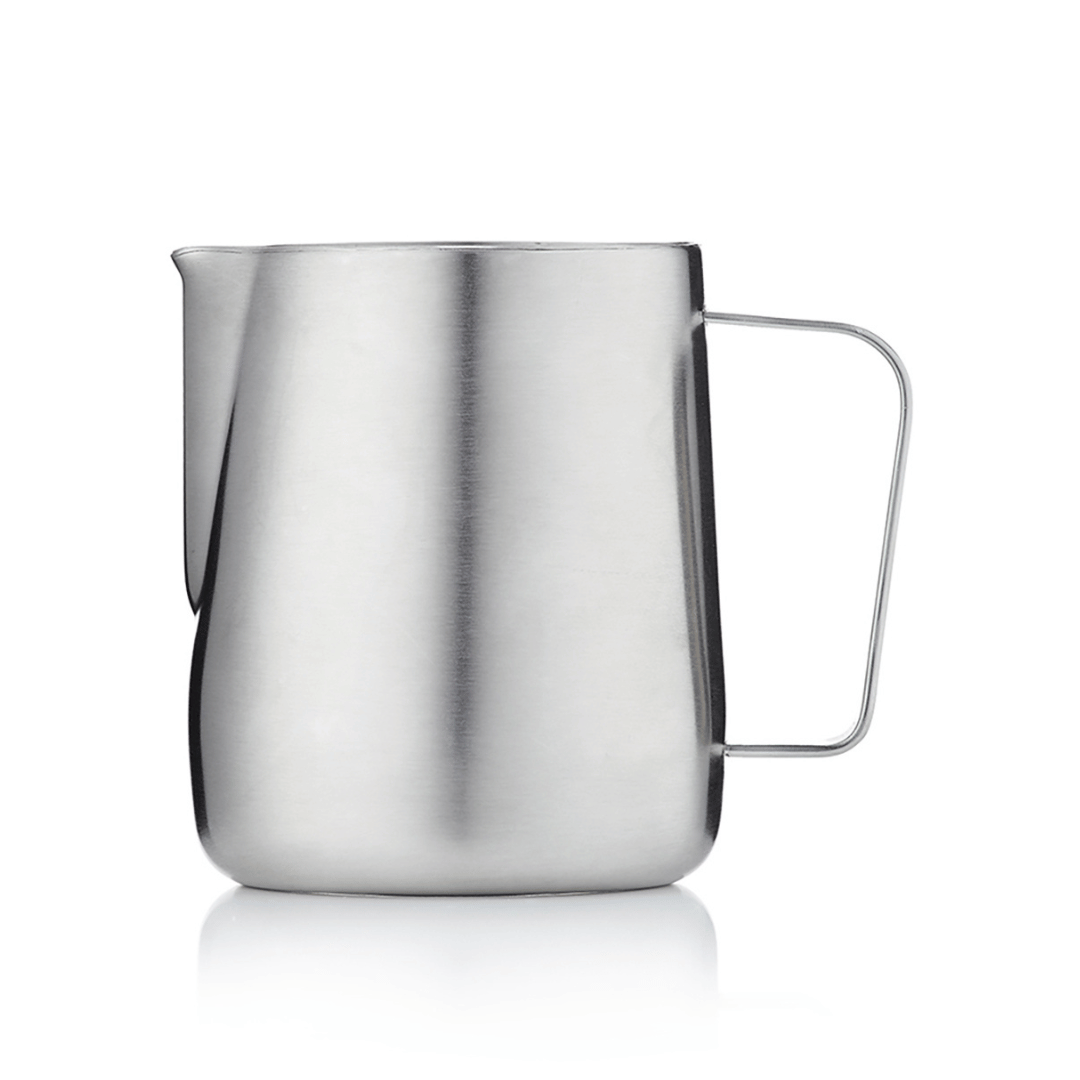
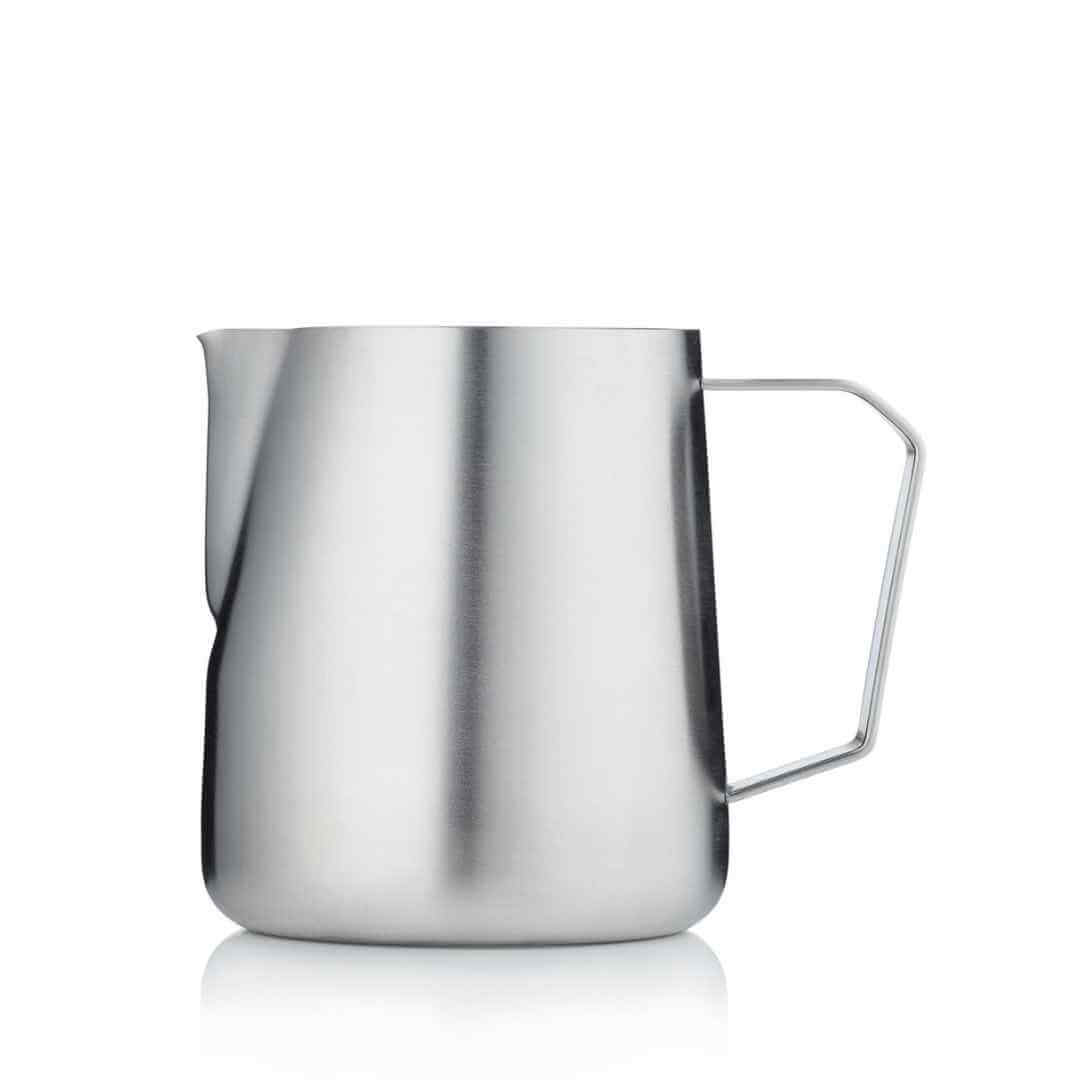
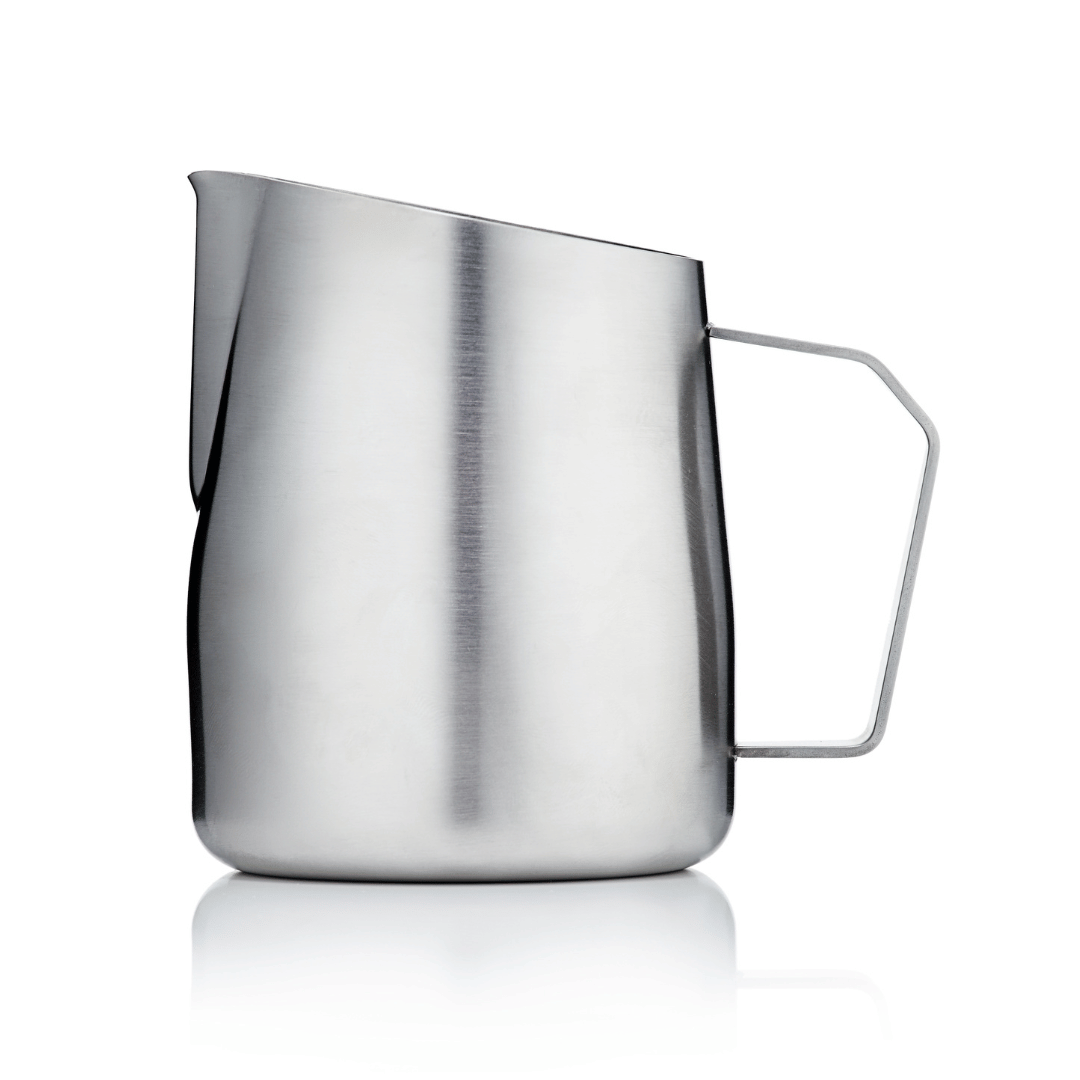
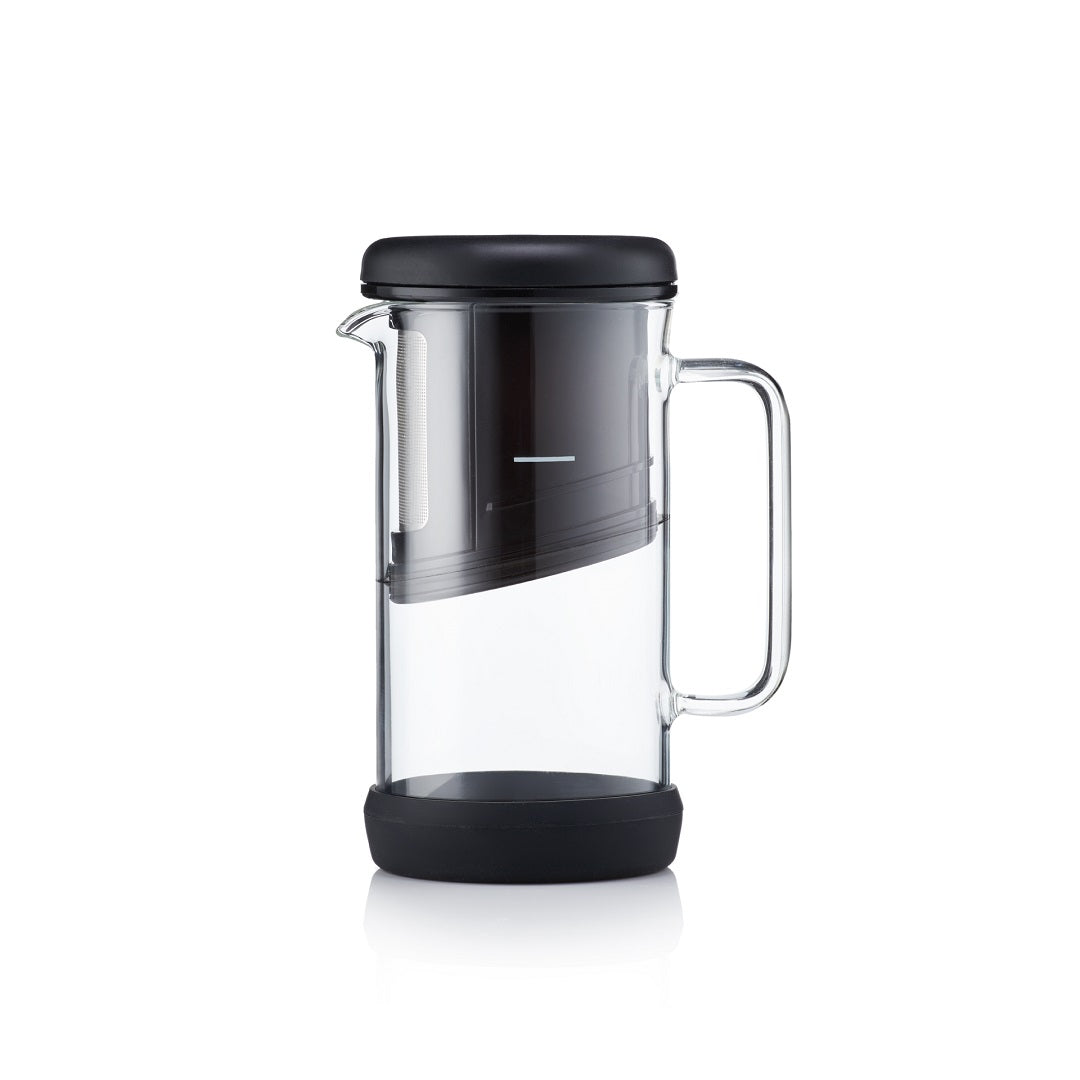
A pitcher with proper handle alignment and a controlled spout. Mass-produced pitchers often have crooked spouts that pull your pour off-centre. The Barista Pro Pitcher, for example, was designed with a guaranteed straight spout based on feedback from 100 professional baristas, which removes one major variable for beginners.
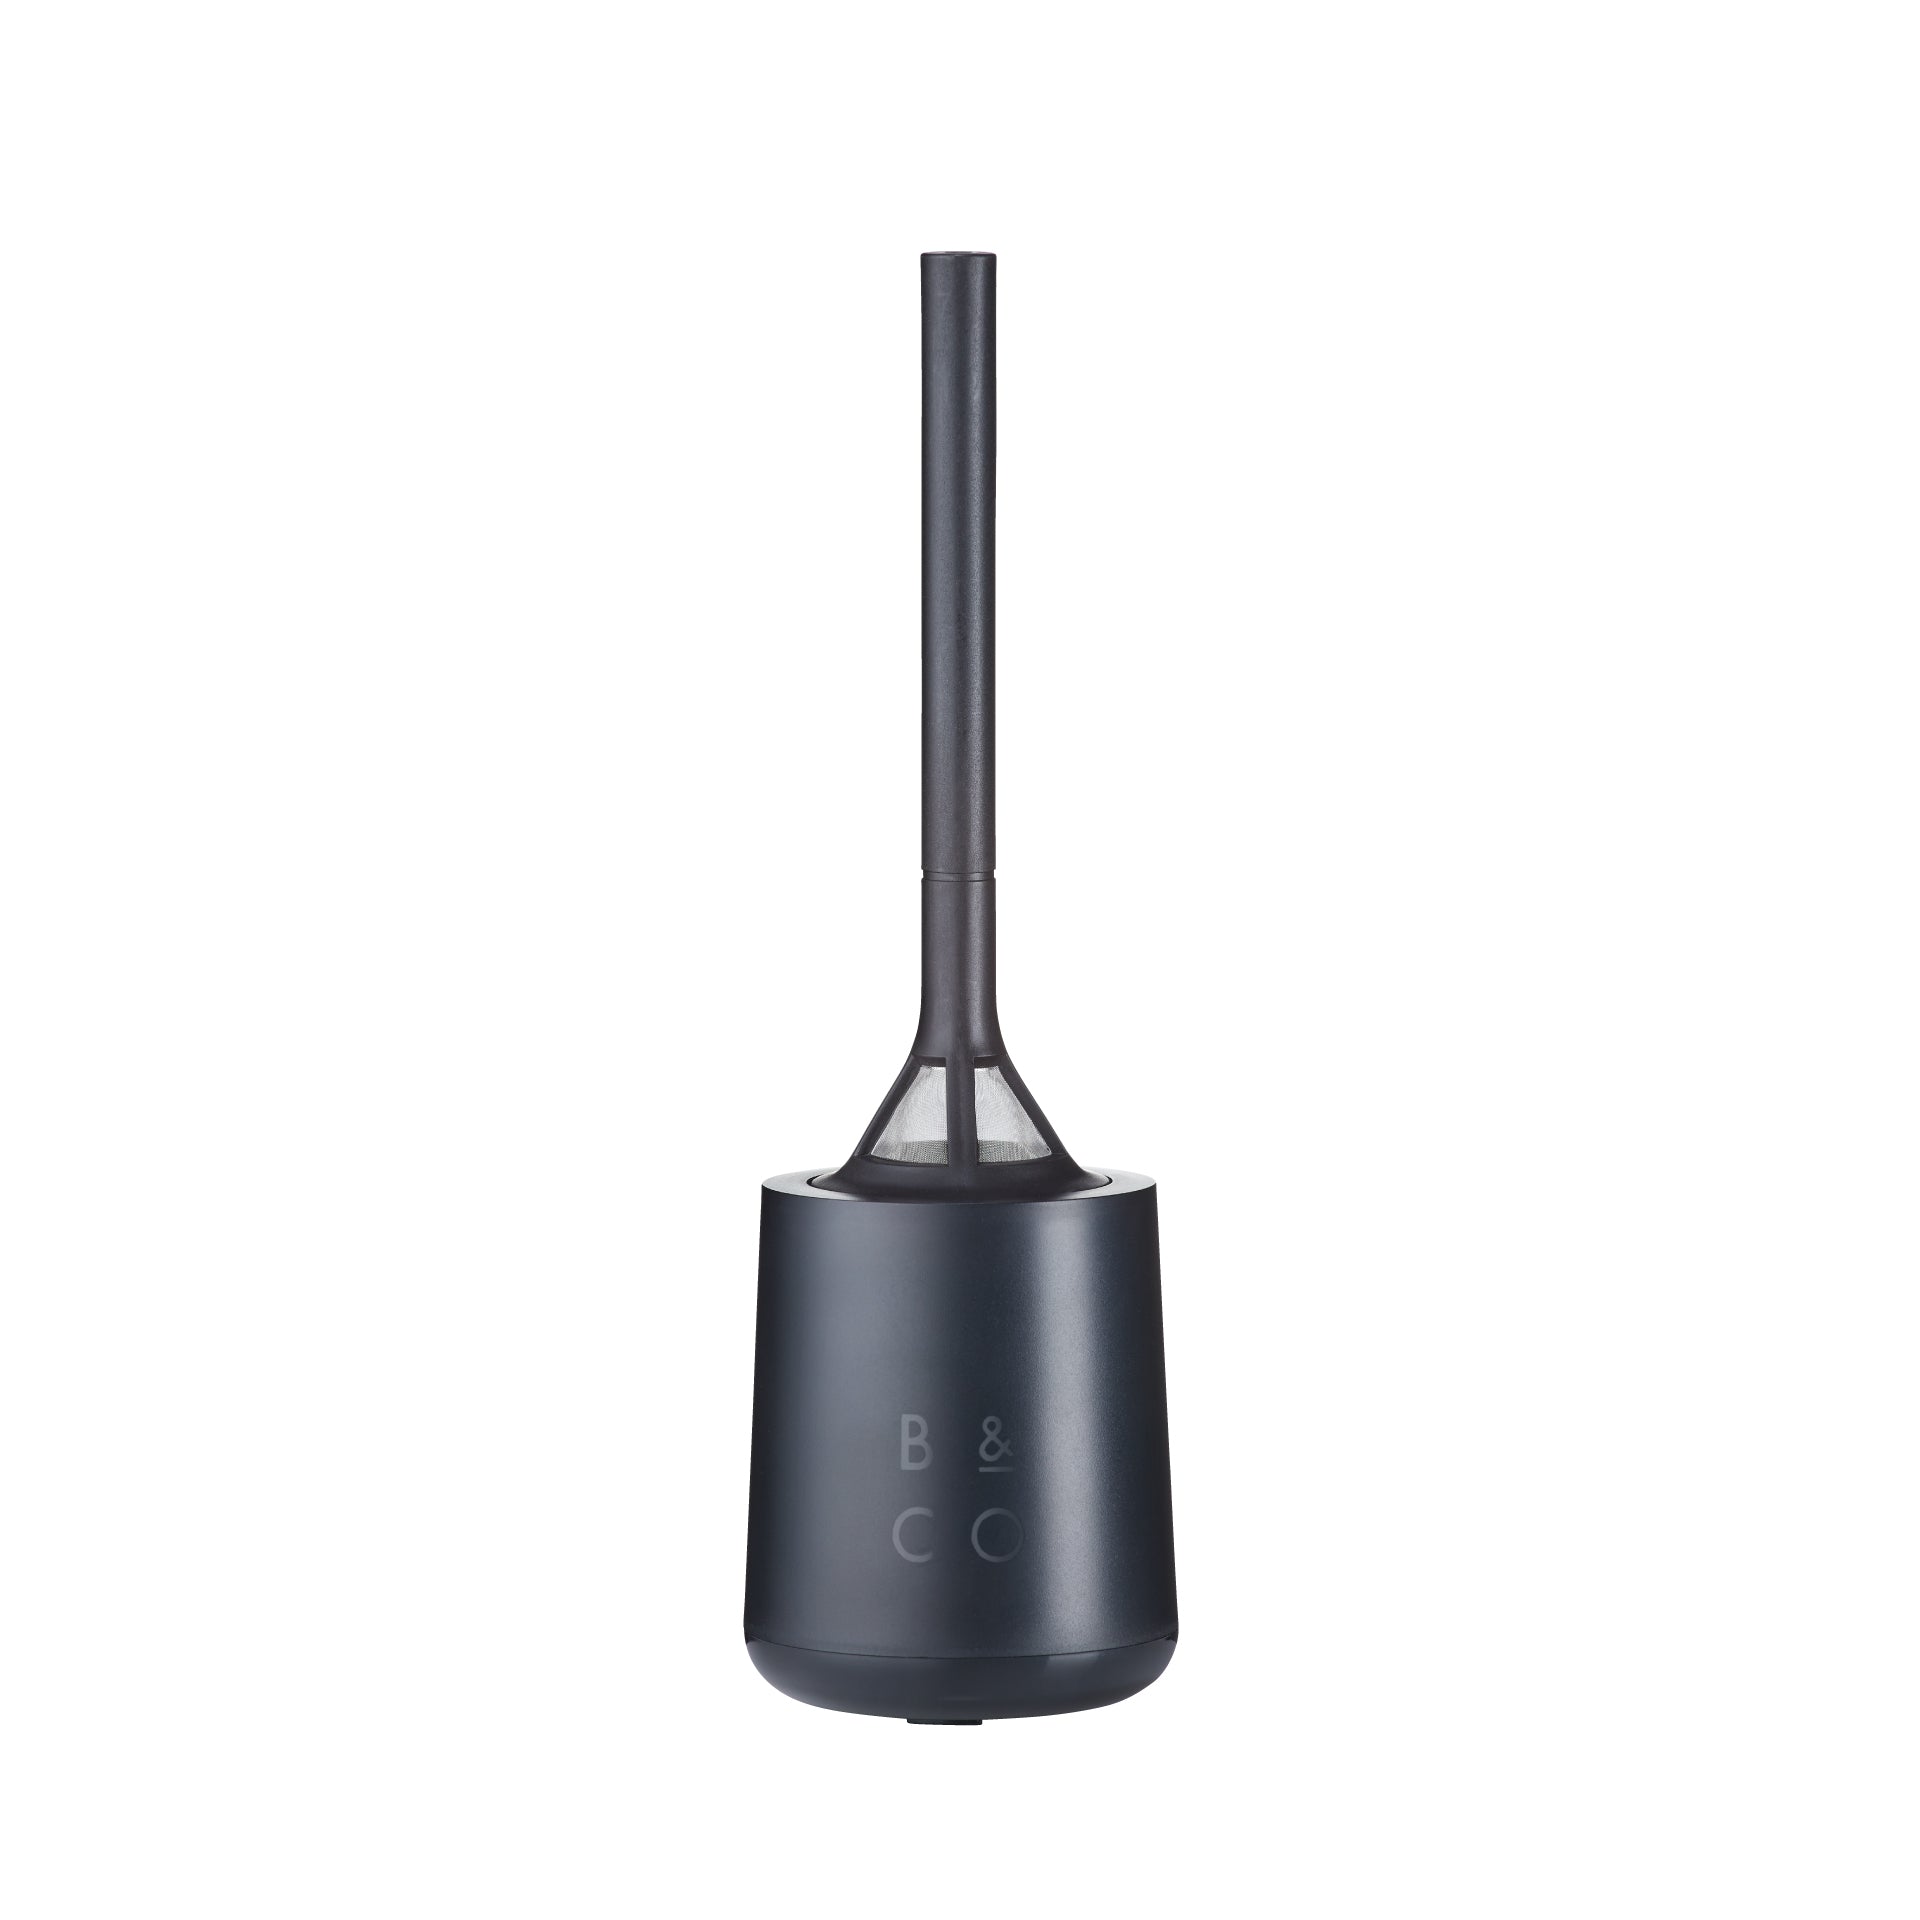
A steam wand with adequate pressure. Most home espresso machines work, but the technique varies based on whether you have a single-hole or multi-hole tip.
A thermometer, at least when starting out. Once you have steamed milk fifty or more times, you will feel the temperature through the pitcher, but a clip-on thermometer accelerates the learning curve dramatically.
Choosing the Right Milk
Not all milk steams equally. Here is what works best:
Whole dairy milk is the gold standard for beginners. The fat content (around 3.5%) creates a stable, creamy microfoam that is forgiving of technique mistakes. Semi-skimmed works but produces drier foam.
Barista-edition oat milk is the best non-dairy option. Standard oat milk lacks the protein and fat ratio needed for stable foam, but barista versions are formulated specifically to steam well.
Soy milk can curdle if overheated or combined with very acidic espresso, so monitor temperature carefully.
Almond milk is the most challenging because it has low protein content and tends to separate. Beginners should avoid it until they have nailed the technique with whole milk.
Always start with cold milk straight from the fridge, ideally below 4°C. Cold milk gives you a longer window to incorporate air before reaching final temperature.
The Step-by-Step Steaming Technique
Pour cold milk into your pitcher to just below the bottom of the spout. For a single drink, this is around 150ml in a 400ml pitcher. Overfilling is the most common beginner mistake because it leaves no room for milk expansion.
Purge your steam wand for 2-3 seconds before inserting it into the milk. This clears any condensation that would otherwise dilute your milk.
Position the steam wand tip just below the surface of the milk, slightly off-centre to encourage a whirlpool motion. The pitcher should be tilted slightly so the wand creates a swirling vortex.
Turn the steam on fully. You should hear a gentle "tssss" sound, like paper tearing softly. This is the stretching phase, where you are adding air. Keep the tip just under the surface for about 3-5 seconds, until the milk volume increases by roughly 20-30%.
Lower the wand deeper into the milk to stop the stretching and begin the texturing phase. The sound should change to a low rumble or hum. Maintain the whirlpool motion. The bubbles you created during stretching are now being broken down and integrated.
Stop steaming when the milk reaches 60-65°C (140-149°F). For dairy milk, going above 70°C scalds the milk and destroys its natural sweetness. The pitcher should feel uncomfortably warm but not burning to the touch.
Wipe the steam wand immediately and purge it again to prevent milk residue from baking onto the tip.
Polishing Your Milk
This step separates good baristas from great ones. After steaming, swirl the pitcher in a continuous circular motion for 5-10 seconds. This integrates any remaining bubbles back into the body of the milk.
Tap the pitcher firmly on the counter once or twice to pop any large surface bubbles. If you are using a Barista & Co pitcher with a silicone base accessory, you can do this without scratching your worktop.
Your milk should now look glossy and uniform, like fresh paint. If you see distinct foam separating from the liquid, you either stretched too long or your texturing phase was too short.
Common Beginner Mistakes and How to Fix Them
Big bubbles on the surface: You held the wand at the surface too long during stretching. Submerge it deeper after the initial 3-5 seconds.
Flat, watery milk with no foam: You submerged the wand too deeply from the start and never stretched. The wand tip needs to be near the surface during the first phase.
Scalded, bitter milk: You went over 70°C. Use a thermometer until you can feel the correct temperature through the pitcher.
Foam separating from milk in the cup: You skipped the polishing step. Always swirl before pouring.
Pour pulls to one side: This is often a pitcher problem, not a technique problem. A misaligned spout will ruin even perfectly textured milk.
Practising Without Wasting Coffee
Beginners often burn through bags of beans practising latte art. A smarter approach is to use a small amount of dish soap mixed with cold water in your pitcher. The soap solution mimics the texture of milk when steamed, allowing you to practise pouring patterns into a cup without wasting milk or espresso. Just ensure you rinse thoroughly afterwards.
When to Move from Hearts to Rosettas
Most baristas recommend pouring at least 100 hearts before attempting a rosetta. The heart teaches you flow control, height management, and how to "cut through" your pour at the end. Once your hearts are consistently symmetrical and centred, you have built the muscle memory needed for more complex patterns.
The Bottom Line
Steaming milk well is a learnable skill, not a talent. With cold whole milk, a properly aligned pitcher, and 30-40 practice sessions, almost anyone can produce cafe-quality microfoam at home. The investment is mostly time, plus a small amount of milk during the learning curve.


Leave a comment