An Easy Guide to Making Pour Over Coffee at Home
What is it about pour over coffee that makes our mouth water? And why are all the coffee geeks so sure that this is the brewing technique we should all take advantage of? In this blog, we'll tell you everything you need to know about this method and how to make pour over coffee at home.
We all start in the same place when it comes to coffee. And let's be honest, that's probably instant. Yes, it makes us squirm thinking about it now. But we've all reached for a jar of Nescafe gold in our life... no point pretending otherwise.
Then we started going out for coffee or picking it up on the way to work. Maybe your office has an amazing supply of fresh coffee. Or maybe you know someone who knows someone that ditched the instant many moons ago.

Now you're out here exploring the world of fresh – that's fresh brew I'm talking about. That jar of instant freeze-dried beans has been pushed to the back of the cupboard. You're experimenting with a cafetiere you borrowed from a friend. Testing difference grind sizes, extraction times and comparing everything from single origins to delicious blends. You've probably read our guide to brewing better coffee in a cafetiere already.
And then someone mentions a pour over.
Now, in my professional opinion, a pour over coffee is the crème de la crème. It's not just another mug of filter in your hand. It's an entire caffeinated experience that definitely sets you apart from the rest of the coffee geeks.
Trust me. Put that cafetiere back in the cupboard. You're about to experience coffee like you never have before.
What is Pour Over Coffee?
As fancy as it sounds (and as hyped as it is), this brewing technique couldn't be simpler. A pour over coffee involves pouring hot water over freshly ground coffee beans that are sitting on a filter paper. The water flows through the ground coffee, through the filter and then down into the cup.
What makes this brewing method so special? Well it gives you an insane level of control.

You are in full control of all the variables that affect how your final cup tastes. The water temperature, the pouring speed, and how long it's brewed for. This is coffee to your taste. Every time.
These are the kind of factors that you don't get to control when you use something like a cafetiere, a bean-to-cup machine or an Aeropress. The coffee maker does all the work, which is fantastic for beginners. Less fantastic for people that know what they like and want the perfect mug of coffee every time.
How to Make a Pour Over
This is the only guide you're ever going to need when it comes to pour over coffee. Read through step-by-step or head to the bottom for general FAQs if you're trying to find out something specific.
Step One: Your Pour Over Kit
The first thing you're obviously going to need is the pour over kit. There are loads of different pieces of equipment out there, from the plastic V60s that sit on top of your cup to the glass Chemex that tend to be used to add aesthetics to an Instagram post.
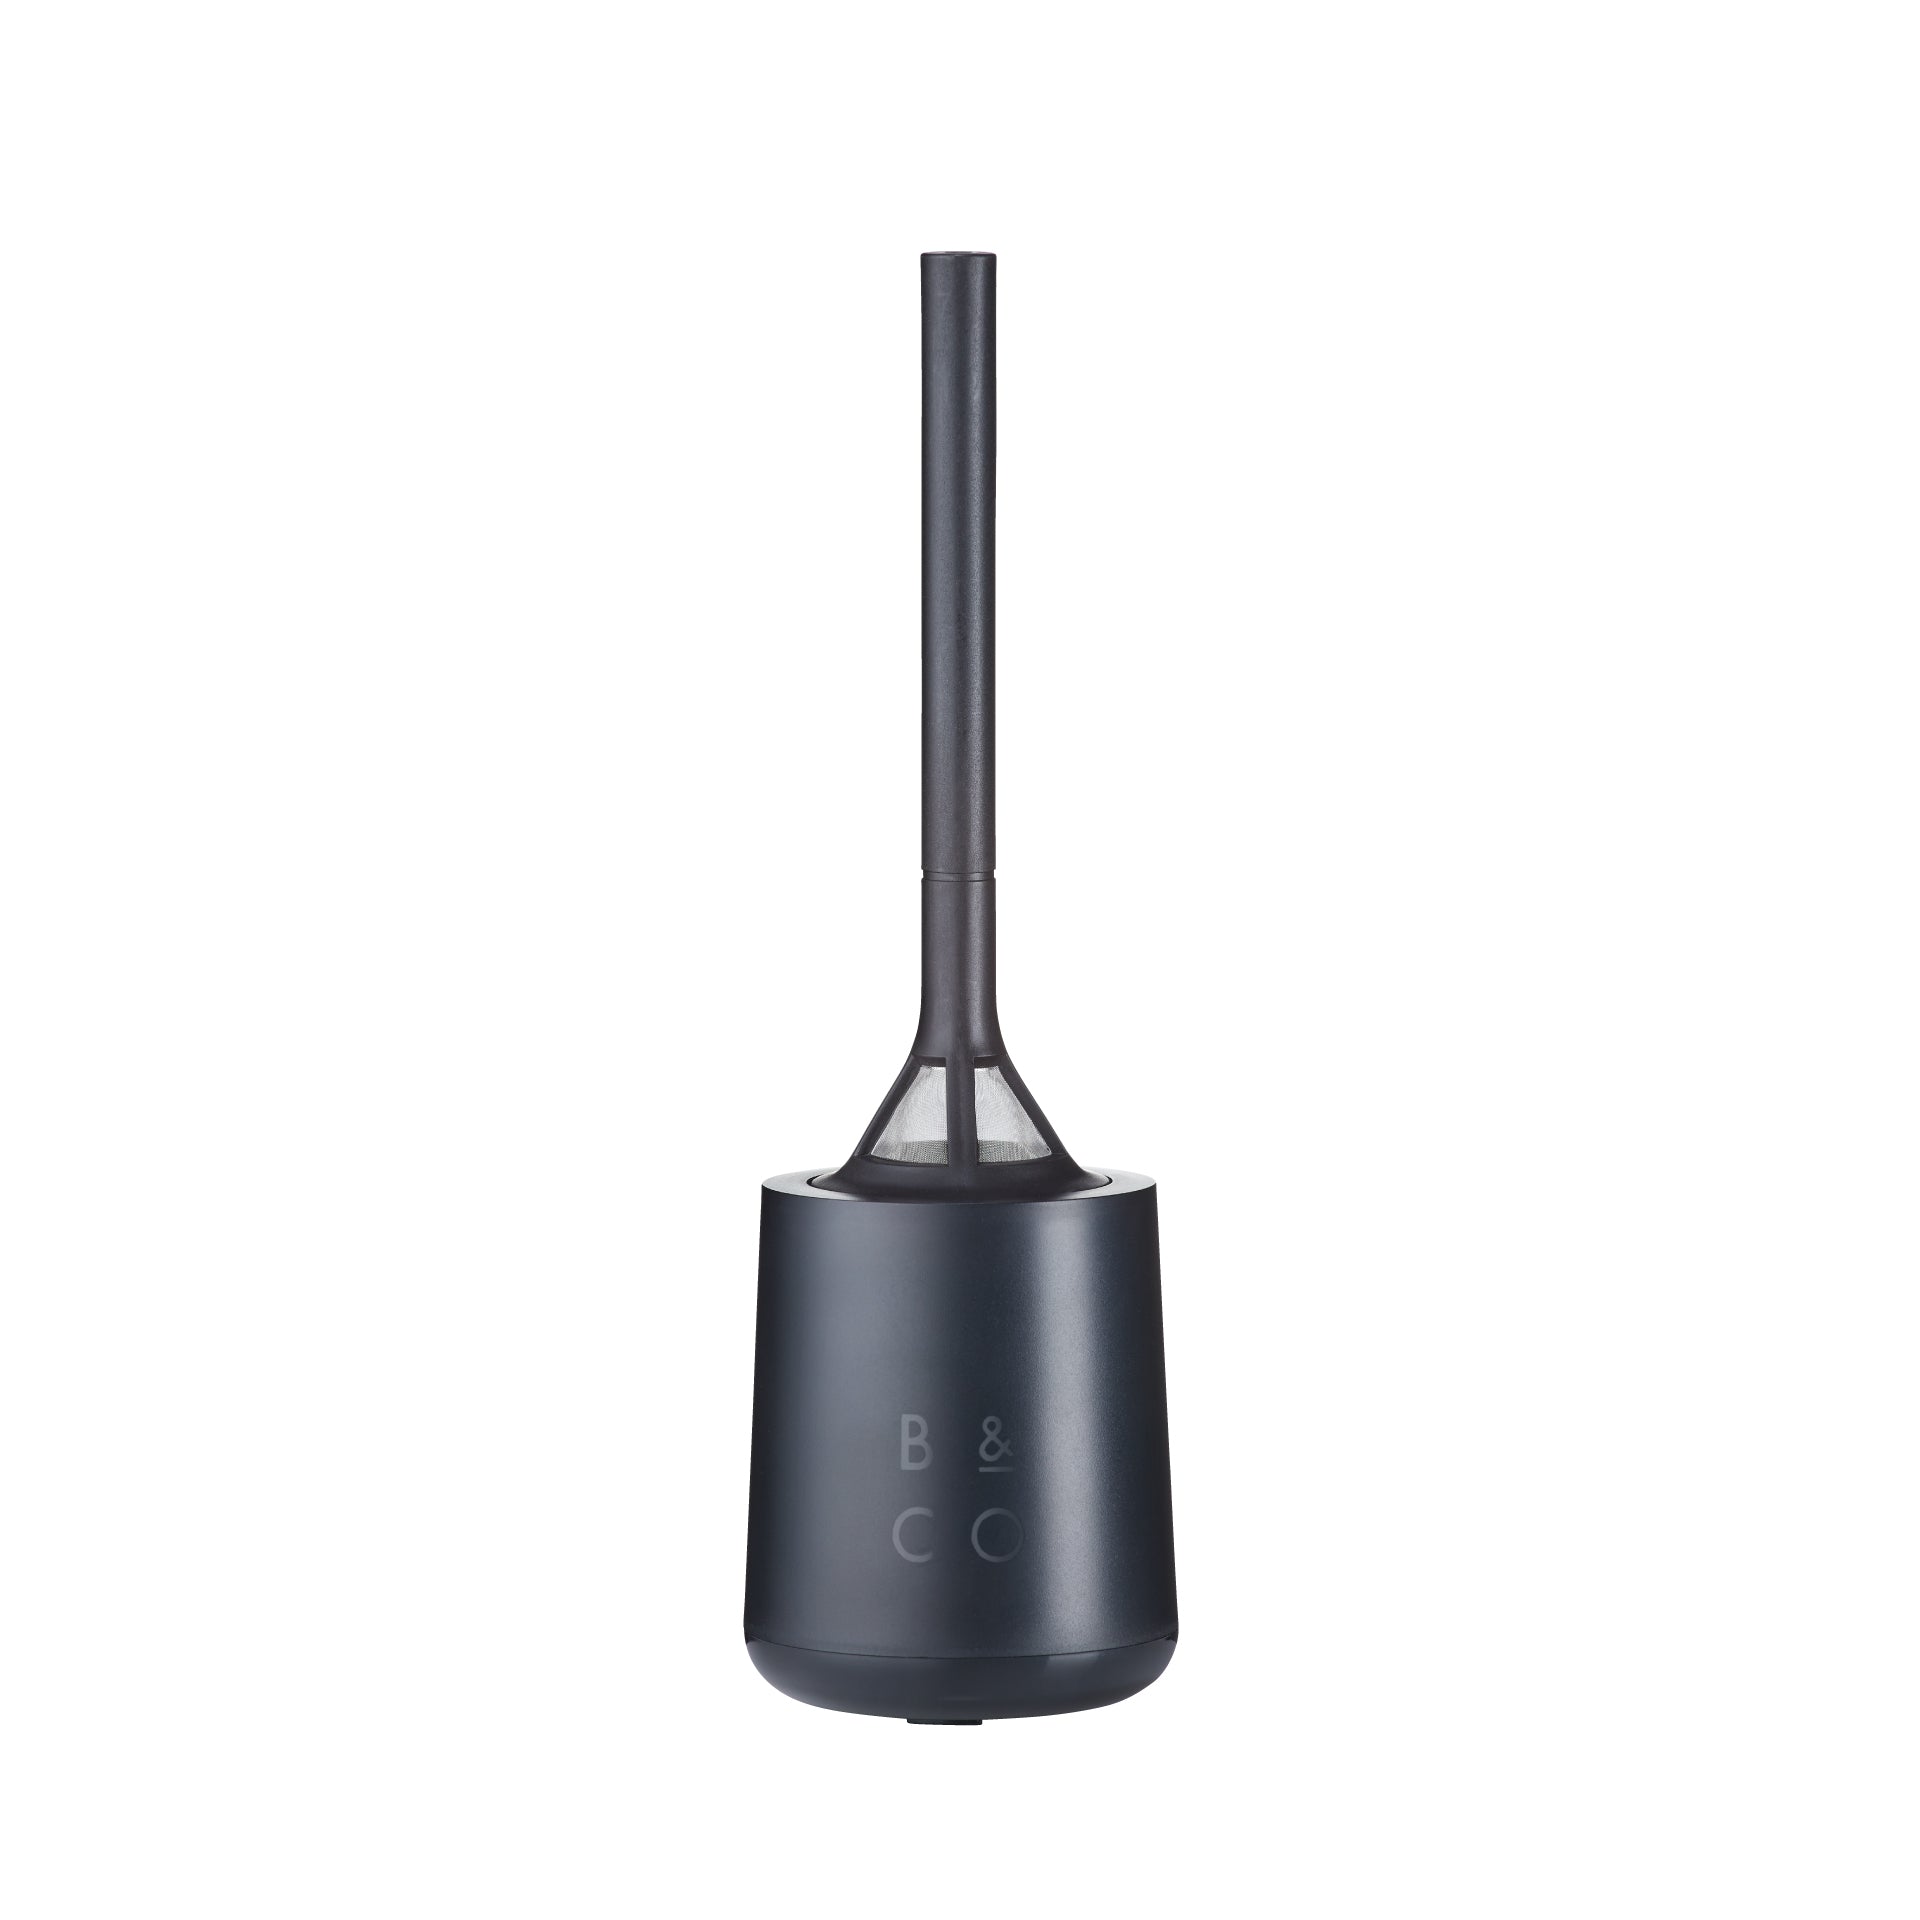
Our pour over coffee maker is a simple stainless steel design. The way this method works is by allowing you to control the amount of water flowing through the ground coffee so we spent months trialling different bits of kit.

One thing you might notice is that we've left our coffee maker open on all sides. Possibly not what you're expecting if you're used to the Hario V60. Why did we bother? Well it all comes down to channelling - that's the route the water takes as it passes through the ground coffee.
With something like a V60 or a Chemex, the water is forced in one direction. Down. With our Corral Pour Over you'll notice the water channel moves in a different direction. This channelling effect changes the taste of your brew, so give both a go if you're new to drip coffee techniques. You never know which one you'd prefer.
We found that our pour over coffee tasted cleaner when there were more open spaces for water to pass through the filter so that's why we've left all sides open.
Place your chosen brewer above your favourite cup and insert your filter. Now, if you’re serious about your coffee you can go ahead and wet the paper filter. This removes any dust or lingering residue. Make sure you give your plants the water that accumulates in the cup so it doesn't taint your brew.
Step Two: Adding Your Coffee
Now you add your freshly ground coffee. If you use pre-ground, we're not judging you too hard. Just remember you're never going to get that coffee shop level of quality until you achieve the 3 pillars:
- Roast fresh
- Grind fresh
- Brew fresh
Whether you have a coffee grinder at home or you're buying pre-ground beans, you'll want to get a slightly coarser grind size than you'd use for a cafetiere. Much much coarser than you'd use for espresso.
We use a medium to coarse grind but this is something you should experiment with. The coarser the coffee... the slower the pour. How do you like your brew?

The amount of ground coffee that you're using is at your discretion (yet another reason why we all love pour over coffee).
To keep things simple, we'll give you our go to ratio. We use 7.5 grams of coffee for every 100ml of hot water. You need around 200ml of water to make a small black coffee, giving you room to add milk or dairy alternatives.
So with that ratio, you can aim for 15g of ground coffee for every 200ml cup. Our coffee scoop spoon makes it easy to estimate 15g straight out the bag, saving you time and money on scales and weighing your beans.
Step Three: Pouring Your Water
You don't need a gooseneck kettle to make a pour over coffee... but it definitely helps. A gooseneck kettle looks very different to the sort of appliance we've all got at home in the kitchen. The spout comes from the base, and is long and skinny. The tip of the spout is angled.
Believe it or not, this isn’t just a design strategy. Every bend in your gooseneck kettles spout has been engineered by a coffee fanatic. It's shaped that way to perfect the pour, giving you even more control over the speed and direction of your water.
Whether or not you have a gooseneck kettle, your pouring technique will be the same. Start slowly, pouring in a circular motion. You don't want to drown your coffee, just cover it in enough water to ensure all the grinds are wet.
And then you watch the bloom.
How to Bloom Pour Over Coffee
The phrase coffee bloom sounds very delicate and inviting. Really, what we mean when we talk about coffee blooming is letting the gas escape. Coffee beans are full of carbon dioxide (if they're still fresh). Absolutely nothing to worry about and some people skip over this step all together.
But if you really want to bring your coffee making game to the next level... pay attention to the bloom.

So you've pouring just enough hot water over your ground coffee now, all the grinds are wet and it's just sitting there. Then you see a bubble. Then another one. Suddenly the middle of your pour over filter is erupting with tiny bubbles... just like a flower blooming.
This is the carbon dioxide leaving your coffee. When you let your coffee bloom, you're allowing more of the aromas and tasting notes to filter down into your cup. We definitely recommend trying to bloom your freshly ground coffee if you haven't done so before.
Let's get back to pouring the water...
Step Three (cont.): Pouring Your Water
Pouring the water really should be divided into two steps. The first step is the initial wetting of the coffee and waiting for that gorgeous bloom. Once the carbon dioxide has escaped your beans, it's time to pour your water for real.
Remember the ratio we discussed earlier? You're aiming for around 200ml of water for every 15g of coffee. Let's say you used around 50ml of your hot water to get the bloom, that means you've got 150ml water left to play with.
So how slowly are you going to pour?
Keep the spout of your kettle or jug (gooseneck or otherwise) between 15cm – 25cm away from the coffee and pour in a circular motion. Make sure you're pouring evenly over the grounds. The aim is to ensure even distribution so that all the flavours are extracted at equal times.
To make sure you stick to your ratio and don't overpour, there are two things you could do:
- Make your pour over coffee on a set of scales and keep an eye on the weight as you are pouring your hot water
- Measure 200ml of hot water into a pouring jug so you can’t over or under pour
As you make more pour over coffees, you'll start to get the hang of these measurements and will get really good at measuring by eye. Until then, it's always best to weigh your water or your coffee as you pour. And definitely take this time to experiment with what you like! The ratio of coffee to water will change the way your final mug tastes, so try new things until you've found your perfect brew.

Step Four: Enjoying Your Pour Over Coffee
Pour over coffee is an absolute treat. There's something special about a coffee you've brewed to perfection. Your level of perfection that is. Hand-crafted in every meaning of the word. This is your coffee. Just how you like it.
Pour Over FAQs
We do get asked a lot of questions when it comes to the perfect pour over coffee. Which kit is best? How strong is the brew? How coarse should you grind your coffee beans? Well take a look at our pour over coffee FAQs to find your answer... if your question isn't here, send us an email at hello@baristaandco.com and we'll see what we can do.
How Many Grams of Coffee for a Pour Over?
To get started, we recommend 7.5 grams of freshly ground coffee per 100 grams of hot water. You can use scales to weigh out your beans before you grind them, or use our coffee scoop spoon to streamline the process and get the right ratios every time.
How Coarse Should Coffee be for Pour Over?
If you are using a cone shaped pour over coffee maker, like a V60 or our Corral Pour Over, then the best grind size to use is a medium-fine grind. You can grind fresh at home or order super fresh pre-ground coffee.
With that being said, everyone is different and you might see some people recommending a medium-coarse grind – similar to the type of coffee you'd use in a cafetiere. If you have an electric coffee grinder at home, try making a fresh coffee with different grind sizes until you hit your sweet brewing spot.
Do you Need a Gooseneck Kettle for a Pour Over Coffee?
Of course you don't need a gooseneck kettle to make pour over coffee at home. They look the part, and they help you control the pour of the water, but you can make pour over coffee with any kettle you like. If you want, you can heat your water up on the stove. Or in the microwave. Just don't use your creepy uncle's bath water.

What is Channelling?
By grinding your coffee beans medium-fine and placing them in your filter, you're creating a barrier that stops the water going straight through to the cup. The water wants to find the quickest and easiest route around these coffee grinds which is how channels are formed. This is known as channelling.
The channels show you the path of least resistance. It's like a little tiny river system that runs through your ground coffee beans and determines the extraction time, flavour profile and basically how good you are at making pour over coffee. Channelling is one thing to get your head around, but the best brew is the result of good uniformity.
What is Extraction Uniformity?
To understand the answer to this question, you'll need to have a basic understanding of what channelling means – especially when it comes to making pour over coffee at home. Feel free to jump backwards to the question above if you need to familiarise yourself.
Extraction is basically why we brew coffee beans. Soaking ground beans in hot water extracts the rich coffee flavour we all love. Whether you like gravity brewing, pressurised brewing, immersion brewing or a pour over... they're all trying to achieve the same results – extraction uniformity.
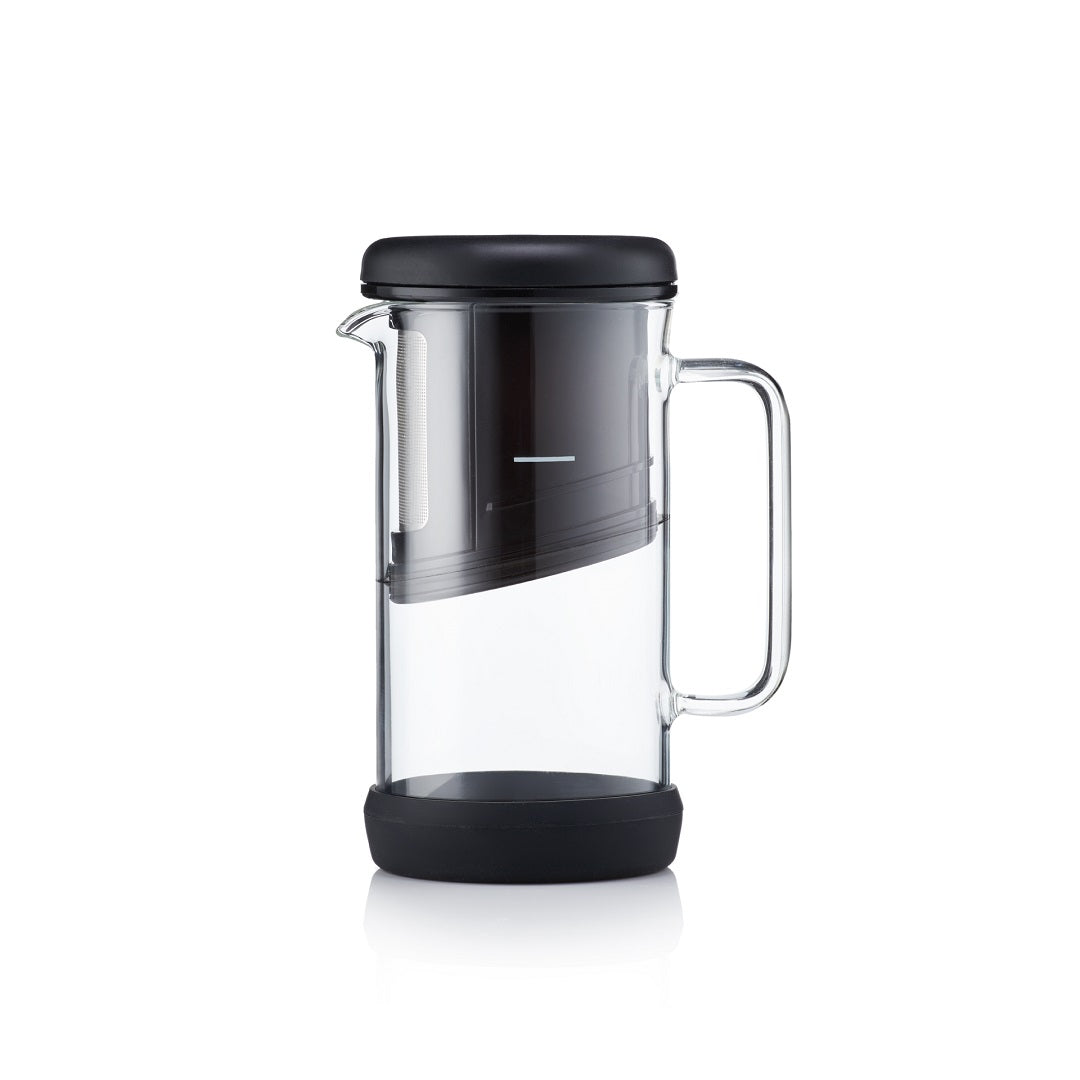
As you can imagine, that's easy with an immersion brewer like our One Brew coffee maker. The ground coffee is left to brew in a beaker of hot water, allowing gravity to do its thing as the grinds sink to the bottom. The flavours are evenly extracted as they're all left in the water for the same amount of time.
This is not the case when it comes to pour over coffee. In fact, extraction uniformity is one of the reasons so many people give up with this brewing technique. It's not as easy as it looks.
The channelling with determine whether or not you achieve extraction uniformity. The channels that the water takes to flow through your grinds determine the route... any coffee on that route is being extracted. But what about coffee that isn't on that route? And if you have some coffee being completely missed by any channels, then does that mean there is coffee being over-extracted elsewhere?
Remember your ratio. You're using exactly the right amount of coffee to water, so if you haven't got extraction uniformity then you've got a problem. Some over extraction. Some under extraction. Either way, it's not the perfect brew.
Here's how to avoid this happening:
- Pour slowly, it's the easiest way to monitor channelling and make sure there is even distribution across the grounds
- Pour in a circular motion to ensure new channels are created across the coffee bed and the water isn't taking the easiest route
- Use a gooseneck kettle – yes, I know I said you didn't need one but I lied. A gooseneck kettle can really help your accuracy and ensure an even, consistent pour.
What is Coffee Bloom?
Before coffee beans are roasted they are actually green, did you know that? Well they're also packed with Carbon Dioxide. Most independents roasteries will leave their beans to rest for up to 48 hours before grinding or packing your coffee – but sometime you get the super fresh stuff. Either way, there is still likely to be a bit of gas escaping as you brew.
This is what we call the bloom. I've explained a bit about what it means to let your coffee bloom above, but the simple answer is this – you're letting some of the gas escape to allow more flavours to extract from the beans. Oh and also it looks great on a camera, take a picture and whack it on your Instagram feed. Thank me later.

As the gas escapes, you'll notice bubbles forming on the surface. This is the carbon dioxide leaving the cup. Cool, huh? When your grounds have stopped bubbling, you're good to go.
How to Bloom Coffee Pour Over:
Luckily it's quite easy to bloom your coffee at home. Just place your Pour Over kit on top of your cup, insert your paper filter, scoop in your coffee and then pour hot water in a circular motion. Once you've completed a couple of circles and all the coffee grounds are wet, stop pouring. Step back and give your coffee a moment to bloom.
You'll start to see a collection of bubbles forming on the surface of your coffee. This is completely normal. It's just the carbon dioxide leaving the coffee as it brews. As soon as the bloom, or the bubbling, has stopped you can continue pouring your water in slow circular motions.
Remember your ratios. If you're following our advice and pouring 100 grams of water to every 7.5 grams of coffee then use a set of scales to measure this exactly. Otherwise you risk over extracting your brew.
Can you add Milk to Pour Over Coffee?
Of course you can. Coffee is a personal experience and there is nothing more personal that a hand-crafted brew. Add milk. Add sugar. Add whiskey. Good times are brewing.
Do you Need a Filter to Make Pour Over Coffee?
Yes, you will need a filter to make pour over coffee at home. The Hario V60 papers are the most common size and will be compatible with almost all cone-shaped pour over coffee makers.





Leave a comment